Follow Lilach
How to create engaging whiteboard animation videos with VideoScribe
Wondering how to create engaging whiteboard animation videos for your business?
Video marketing has become a necessity for businesses across industries. We use videos on social media, on our websites and landing pages, on YouTube, on our blogs, in our ads – basically, everywhere you can promote your business online, you can use video.
And there are many different types of videos that businesses can use – most of them, now very easy to create in-house.
Whiteboard animation videos are arguably some of the most popular types of videos for businesses, as they can be highly engaging and great for providing value to your audience.
What’s more, they are 15% better at ensuring your message is actually remembered by your viewers; better yet, check out the video below from VideoScribe to get a better idea of why whiteboard videos are so popular – and why they’re great for marketing:
How to create whiteboard animation videos (plus a tool to help!)
What exactly is a whiteboard animation video?
Essentially, it’s an animated video that brings words and drawings to life; you’ve probably seen them online and on your social media feeds – they can look something like this (here’s a template from VideoScribe as an example)
These types of videos are particularly great at providing value to your audience; to give you a better idea, here are some of the ways you can use whiteboard animations for your business:
- Explainer videos about your product or service
- How-to videos showing users how to do something or explaining a concept
- Tips and other types of listicle videos
- ‘About Us’ videos telling your business story and message
But from now on, I’m going to call them scribes – for one thing, it’s much easier, and for another, I’ll be using VideoScribe to show how to create whiteboard animations for your business.
What is VideoScribe? It’s a Sparkol app for your computer, which you can use to create your very own whiteboard videos – aka, scribes. And no, you don’t need to know any animation or have design skills – it’s very easy to get started with.
Once you’ve created your account – you can sign up for the free trial here – you’ll be prompted to download the VideoScribe app on your computer. Which, by the way, I personally love because I always have so many tabs open on my browser!
Now, let’s get to the good stuff: putting together your first scribe.
First step: Planning your scribe
When you start your first scribe, you have 2 main options:
- You either use a ready-made template and simply edit it to make it your own, i.e. adding your logo and tagline, changing any of the elements, changing the text and call to action and pretty much any other customization you want to make
- You start completely from scratch and create your scribe exactly as you want it, in which case, I would definitely recommend you plan out your scribe before you start: what it will look like and what it will include; that being said, actually creating a Scribe is super easy – all you need to prep is the content that you’ll be including in the Scribe.
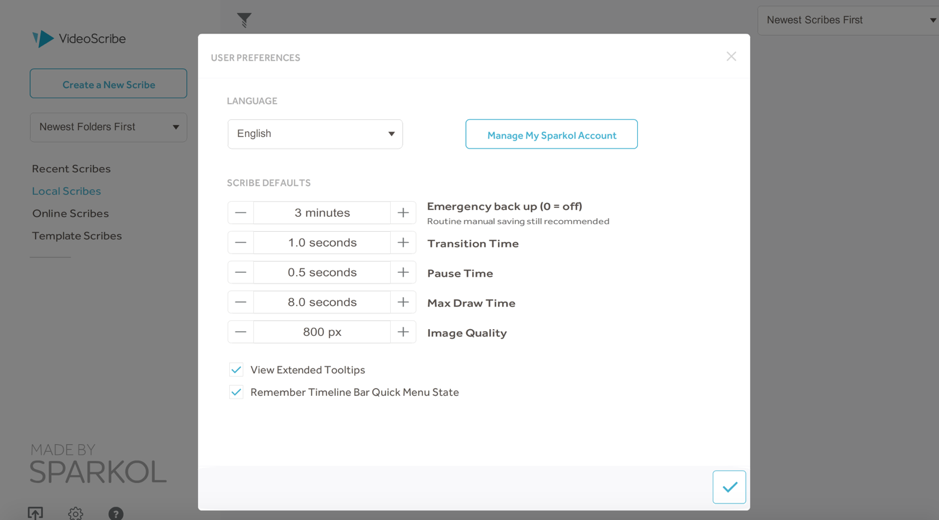
But before you create a scribe, you can set your own default timings for transitions, pauses and select the image quality you prefer, so that you don’t have to change these settings for each video you create:
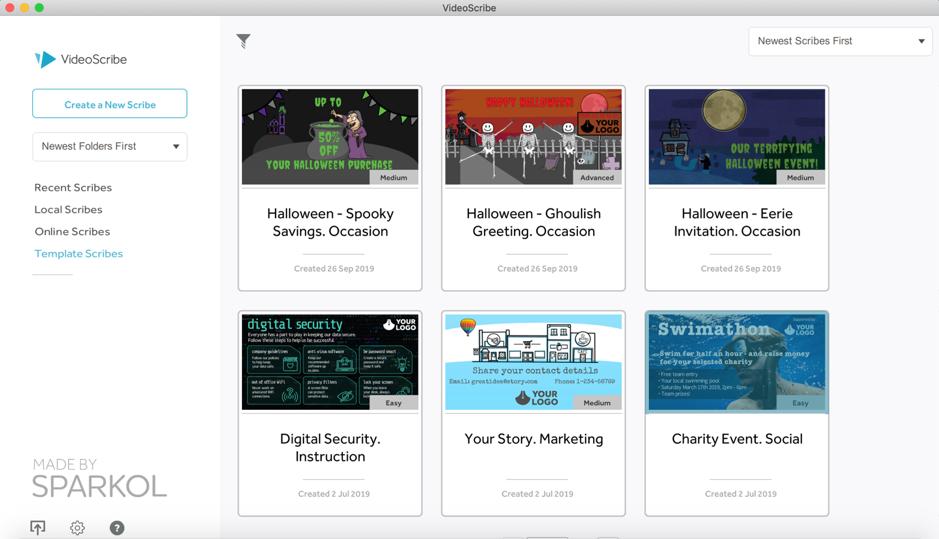
For the first few times you create scribes, it might be easier to use templates – especially as you can customize them as much as you want, from the imagery and elements used to the text.
Plus, they’re a great way to get ideas on the types of videos you can create to convey your message.
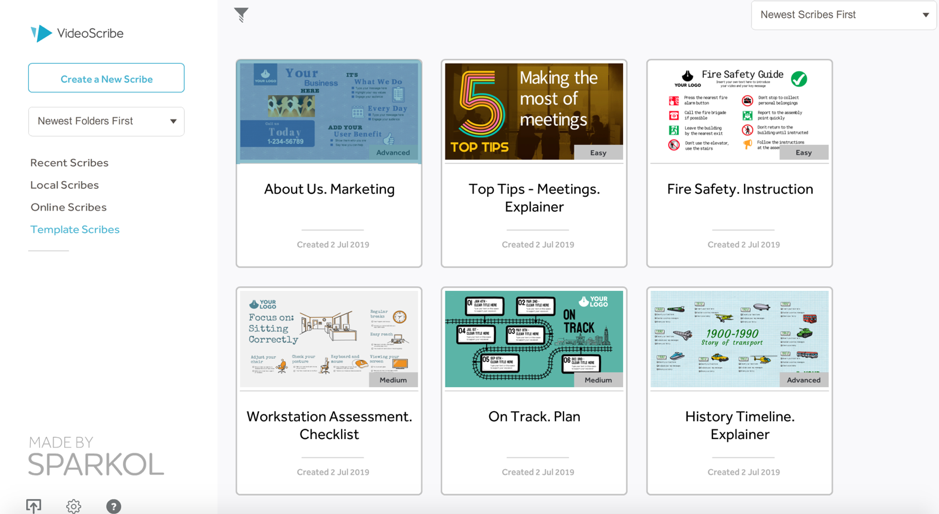
As you can see above, there are some varied options in terms of templates, including seasonal and timely limited-edition templates such as for Halloween or for Christmas.
If you like any of the templates, simply open the one you want by clicking on it; this will take you directly to the editor, where you can start customizing your scribe:
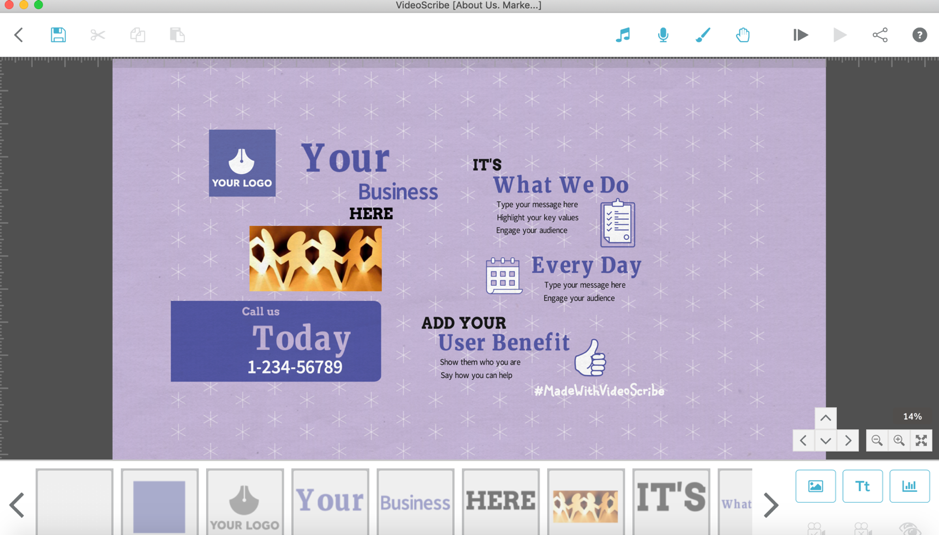
I’ve chosen an ‘About us’ video to customize with my own branding and story:
I can do several things:
- Edit any of the text, including changing fonts and colours
- Changing any images I want, using either images from the built-in library or my own images
- Rearrange any of the elements in the video by dragging and dropping them
- Changing the background colour and texture and even the hand used to write in your whiteboard video
- Add audio (music from their library or you can upload your own) or add a voiceover
Before you start editing though, you can preview the video and each screen so that you can get an idea of what you need to customize:
Now, I can start planning – and executing – the edits I want to make:
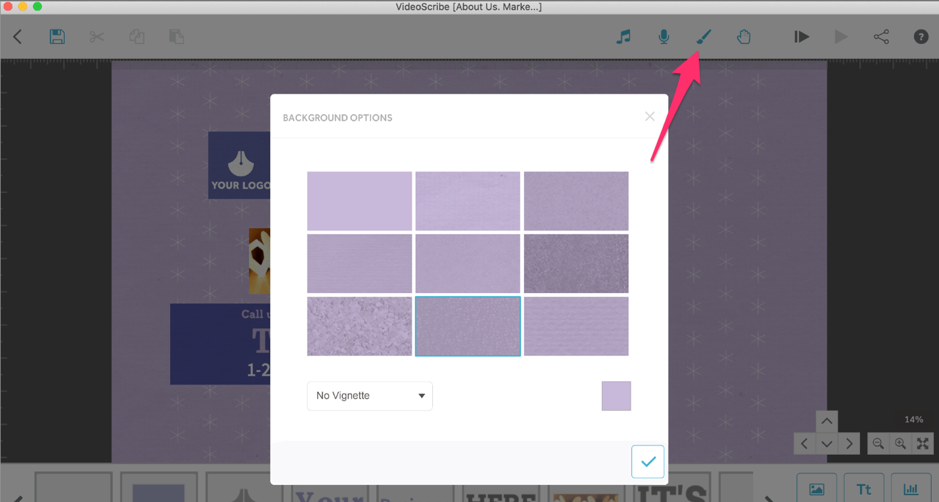
The first thing I want to do is change the background to suit my branding; to do this, click on the background button on the top bar:
Here, I can change the background texture and the colour; plus, I can add Hex codes, meaning I can use my exact brand colours.
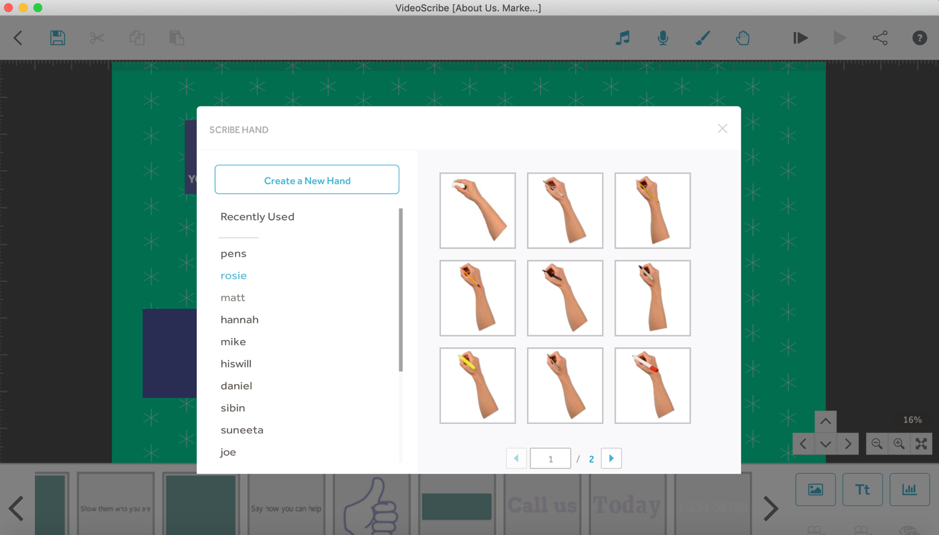
Another element I can change is the “hand” used to write the text in my video; or, I can have it removed completely.
This option is right next to the background options button; once you click on it, you’ll see there’s a huge variety of hands to choose from – or, just pens:
Once you find a hand you like, simply click on it to see a preview of it in action.
By the way, you can preview your entire video at any point, or you can play it from the current element you’re working on.
And now comes the really fun part – customizing the various elements from the template.
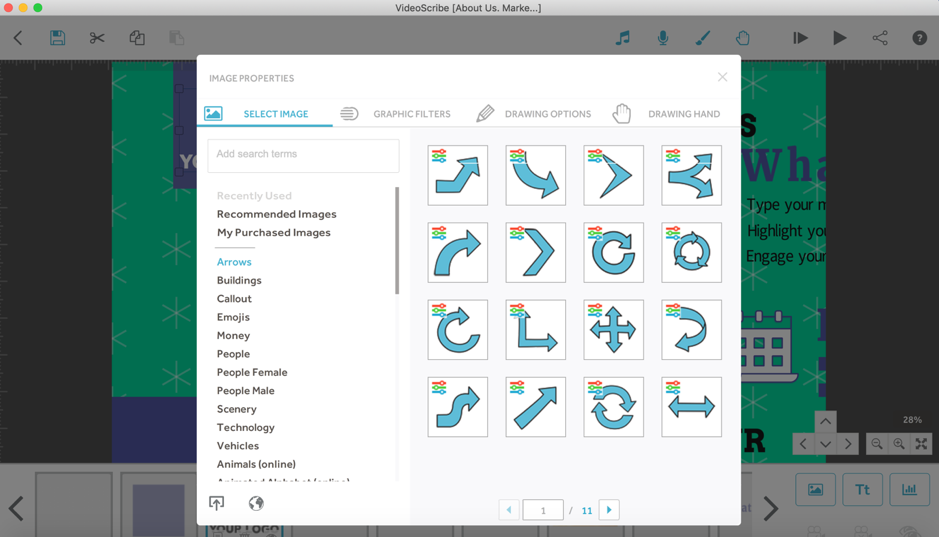
For example, I’ll start with my logo; to do this, click on the element you want to edit and then click on ‘element properties’ to see all of your options:
After adding my logo, I’m easily able to customize the sizes and positioning by dragging and dropping elements (such as the square behind my logo); plus, I’ve also decided to add my website URL beneath my logo:
Adding new text is super easy; all you have to do is click on the “add new text” button at the bottom right-hand side of your screen, add the text you want and customize the font and colour. Once you’re done, you can move the text element where you want and resize the text by selecting and dragging the text.
Back to editing elements, there are all kinds of handy options when you click on “Element Properties” for any element:
For example, you can choose how you want to introduce an element into your scene: do you want it drawn by the hand? Or maybe you want a fade in?
In my case, because it’s a background for my logo, I’ll simply have it move in. Then, I can also change the angle of the “move in”, the move in effect (smooth, bounce, etc.), the opacity, the animation time, and so on.
Other options include regular editing options like brightness, saturation and contrast; and I can even change the hand for this particular element if I need to.
For any change I want to make to a template, all I have to do is select the element I want to edit and go to ‘element properties’ – it’s very easy, even if you have little experience with these types of tools, particularly because everything is in one place and usually self-explanatory (although if you hover over an options, you’ll see help information as well for more details).
Then, once I finish editing an element, I can lock it or hide it as I go through the others.
How to create a whiteboard animation video from scratch
The other option is to create a scribe from scratch; to do that, simply click on ‘create new scribe’ from the main dashboard and your blank canvas is ready:
This might look a bit scary at first: where exactly do you start?
My best tip?
Don’t just start. First, open up your notes and start planning out your video.
This will then give you a very clear outline of what your video will contain and what it will look like. It will make the process run much more smoothly and ultimately, you’ll end up with a better, more cohesive video.
Plus, it doesn’t have to take long; in fact, it’s quite similar to planning out an infographic.
Step 1: Pick a topic
The first thing to do is to think about what you want to achieve: that will later help you pick a topic.
Do you want to use the video on your blog to grow engagement?
Do you want to use it to promote your product on social media?
Whatever your objective is, use that when picking your topic.
For example, I want to create a video for an upcoming blog post: a guide to repurposing content.
I’ll use it to enhance the guide, keep people on the site for longer (videos tend to maximize times spent on websites) and to promote it on social media and generate more engagement and shares.
Because of this, it needs to be informative, fun, short but value-filled.
Step 2: Write a script
Once you know your objective and topic, y ou should start writing the script for your video: all the text that you’ll add for each different scene.
For example, if you were doing a listicle video, you would list out each element in your list, as well as any additional text or call to action.
Or, if you were doing a how-to video, you would outline each step that would be covered in the video.
To help with your script, use these questions to guide you:
- What problem are you helping your audience solve?
- What is the solution to that problem?
Step 3: Plan your storyboard
Once you’ve got your script ready, it’s time to plan out your storyboard – basically, a visual script for your video.
This might sound a bit more complicated than it actually is; because you’re creating a short video, all you really need to do is get a clearer image of what key scenes will be in your scribe and what you want to express visually.
Once you’ve gone through these steps, it will make it much easier to create your video from scratch.
That is, really, the only big difference between starting from scratch or using a template – you don’t have any starting point to guide you, which is why doing a little planning is so helpful.
Apart from that, all the editing options and features are the same as when you use a template.
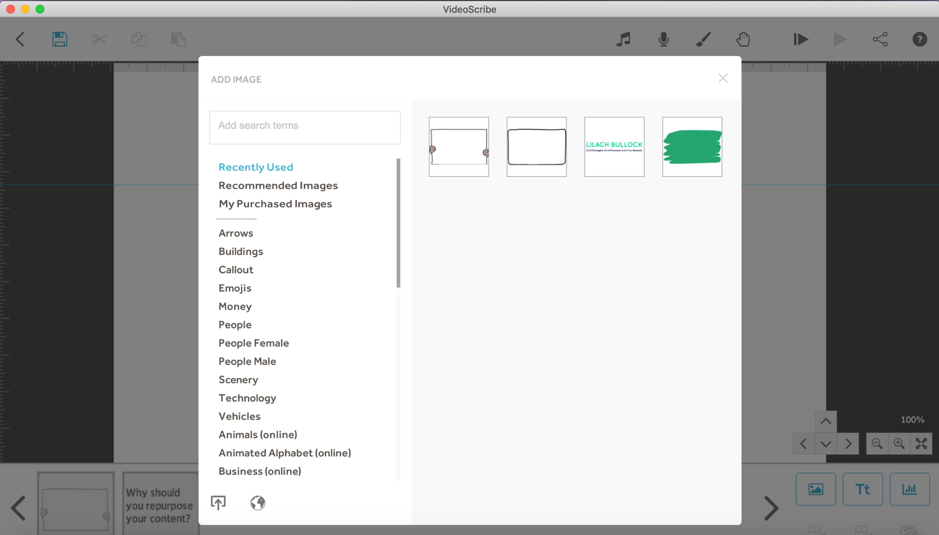
To get started, you can edit your background, or start adding images from their library or upload your own:
There are a plethora of animations available (the above categories are just a small selection) so you can use the search bar to find what you’re looking for.
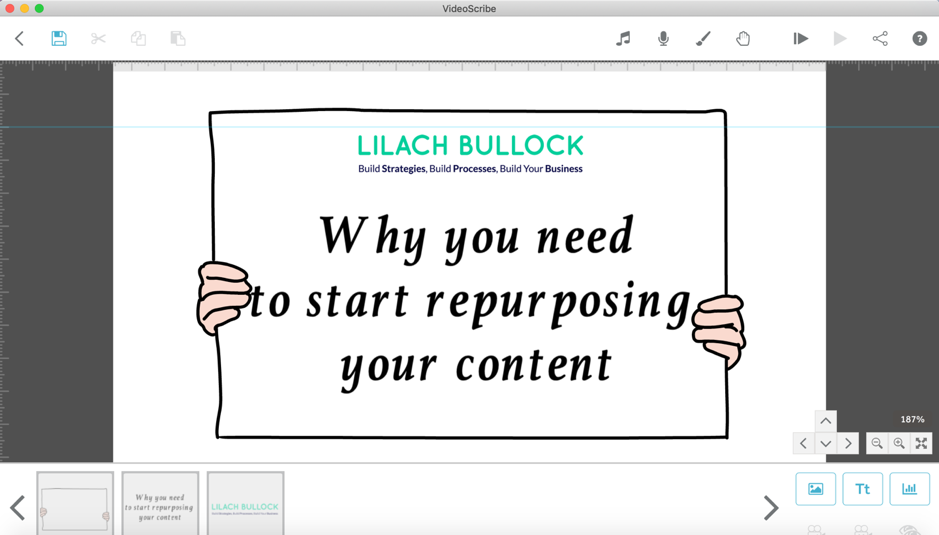
You can then add all the different elements you want to your scene; for example, I’ve added 3 different elements:
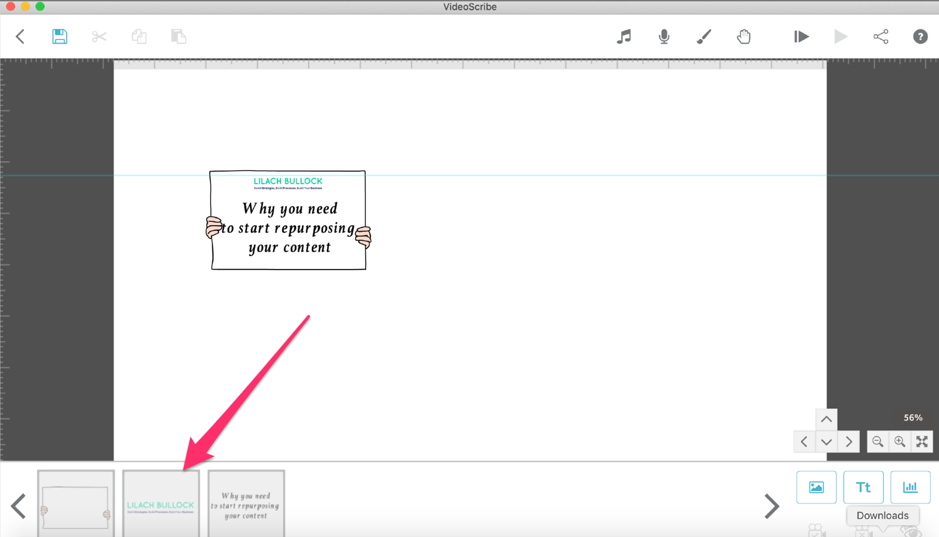
And I can change the order they appear in by dragging and dropping the elements’ preview from underneath the editor.
As I mentioned before, you can preview your scribe at any moment; this is helpful to see if drawing is taking too long/is to quick and to see if you need to make any other edits.
Plus, you can also see if you like the camera angle; the default camera mode is to focus on each element in your scribe, but you can change it at any moment to focus instead on the entire scene.
Then, to keep adding scenes to your scribe, simply zoom out and start adding elements; the order that they appear in your video is quite clear, as they are listed out in order below the editing screen:
These can be moved around simply by dragging and dropping and the order they appear in the video will change consequently.
Another very important element for any type of video is the sound.
You have a couple of options here:
- Use music (either from the built-in library or your own)
- Or record a voiceover
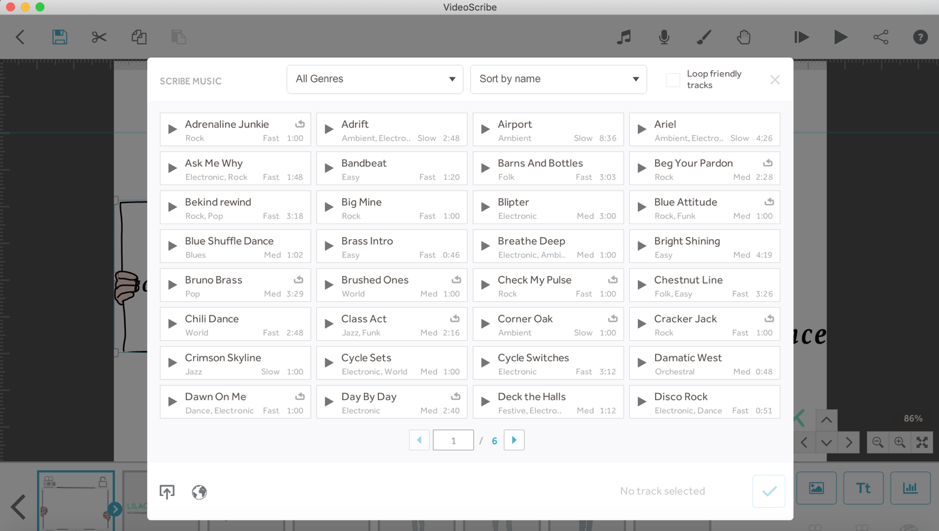
If you want to use music, click on the Music icon in the toolbar; you’ll then be taken to an extensive library of music you can use for free with your video:
If you’re going to do a voiceover, make sure to use a microphone – the sound will be much better .
Record your voice over in time to your scribe’s scenes and then simply upload the audio file to the video.
Once your video is ready to go, you have several publishing options; you can download the video, get a shareable link (meaning you can use it but don’t have to store the file on your computer), publish on YouTube or Vimeo and you can even download it as a PPT and use it instead of a regular presentation.
Conclusion
Creating whiteboard animation videos is much easier than it looks; and the best? They’re highly effective when it comes to getting messages across and even getting people to actually remember that message.
And if you’re looking for a tool to help, I would definitely recommend VideoScribe. It’s very easy to get the hang of as a beginner and to be completely honest – it’s also very fun to use.

Follow Lilach


