Follow Lilach
The Ultimate Guide to Having Cleaner Email Lists to Improve Deliverability
If you run email marketing campaigns, you already know how effective it is at reaching and converting your audience.
After all, you have a direct line to their eyeballs.
But what happens when you fail to get your emails across to your subscribers?
Email marketing becomes a waste of time and money.
That’s why email deliverability is a vital metric for you as an email marketer.
For instance, if over 10% of your emails bounce, less than 44% of your emails will reach their desired inboxes.
Having high email deliverability will increase the chances of reaching most of your subscribers.
And an essential key to high email deliverability is sending emails to “clean” email addresses.
Fortunately, Email List Validation is a tool that will improve the integrity of your subscribers’ list.
In this Email List Validation review, I’ll show you how you can use this email list verifier to clean up your subscribers’ list manually or automatically to improve email deliverability.
Without further ado, let’s go into the full details.
Higher email deliverability with Email List Validation
Email List Validation is a tool that identifies poor email addresses that you need to remove from your email campaign lists. In a moment, I’ll go through the various aspects of this email list checker and how it can improve your email marketing campaigns.
Verification
Once you log in to your account, the first page you see is the verification page.
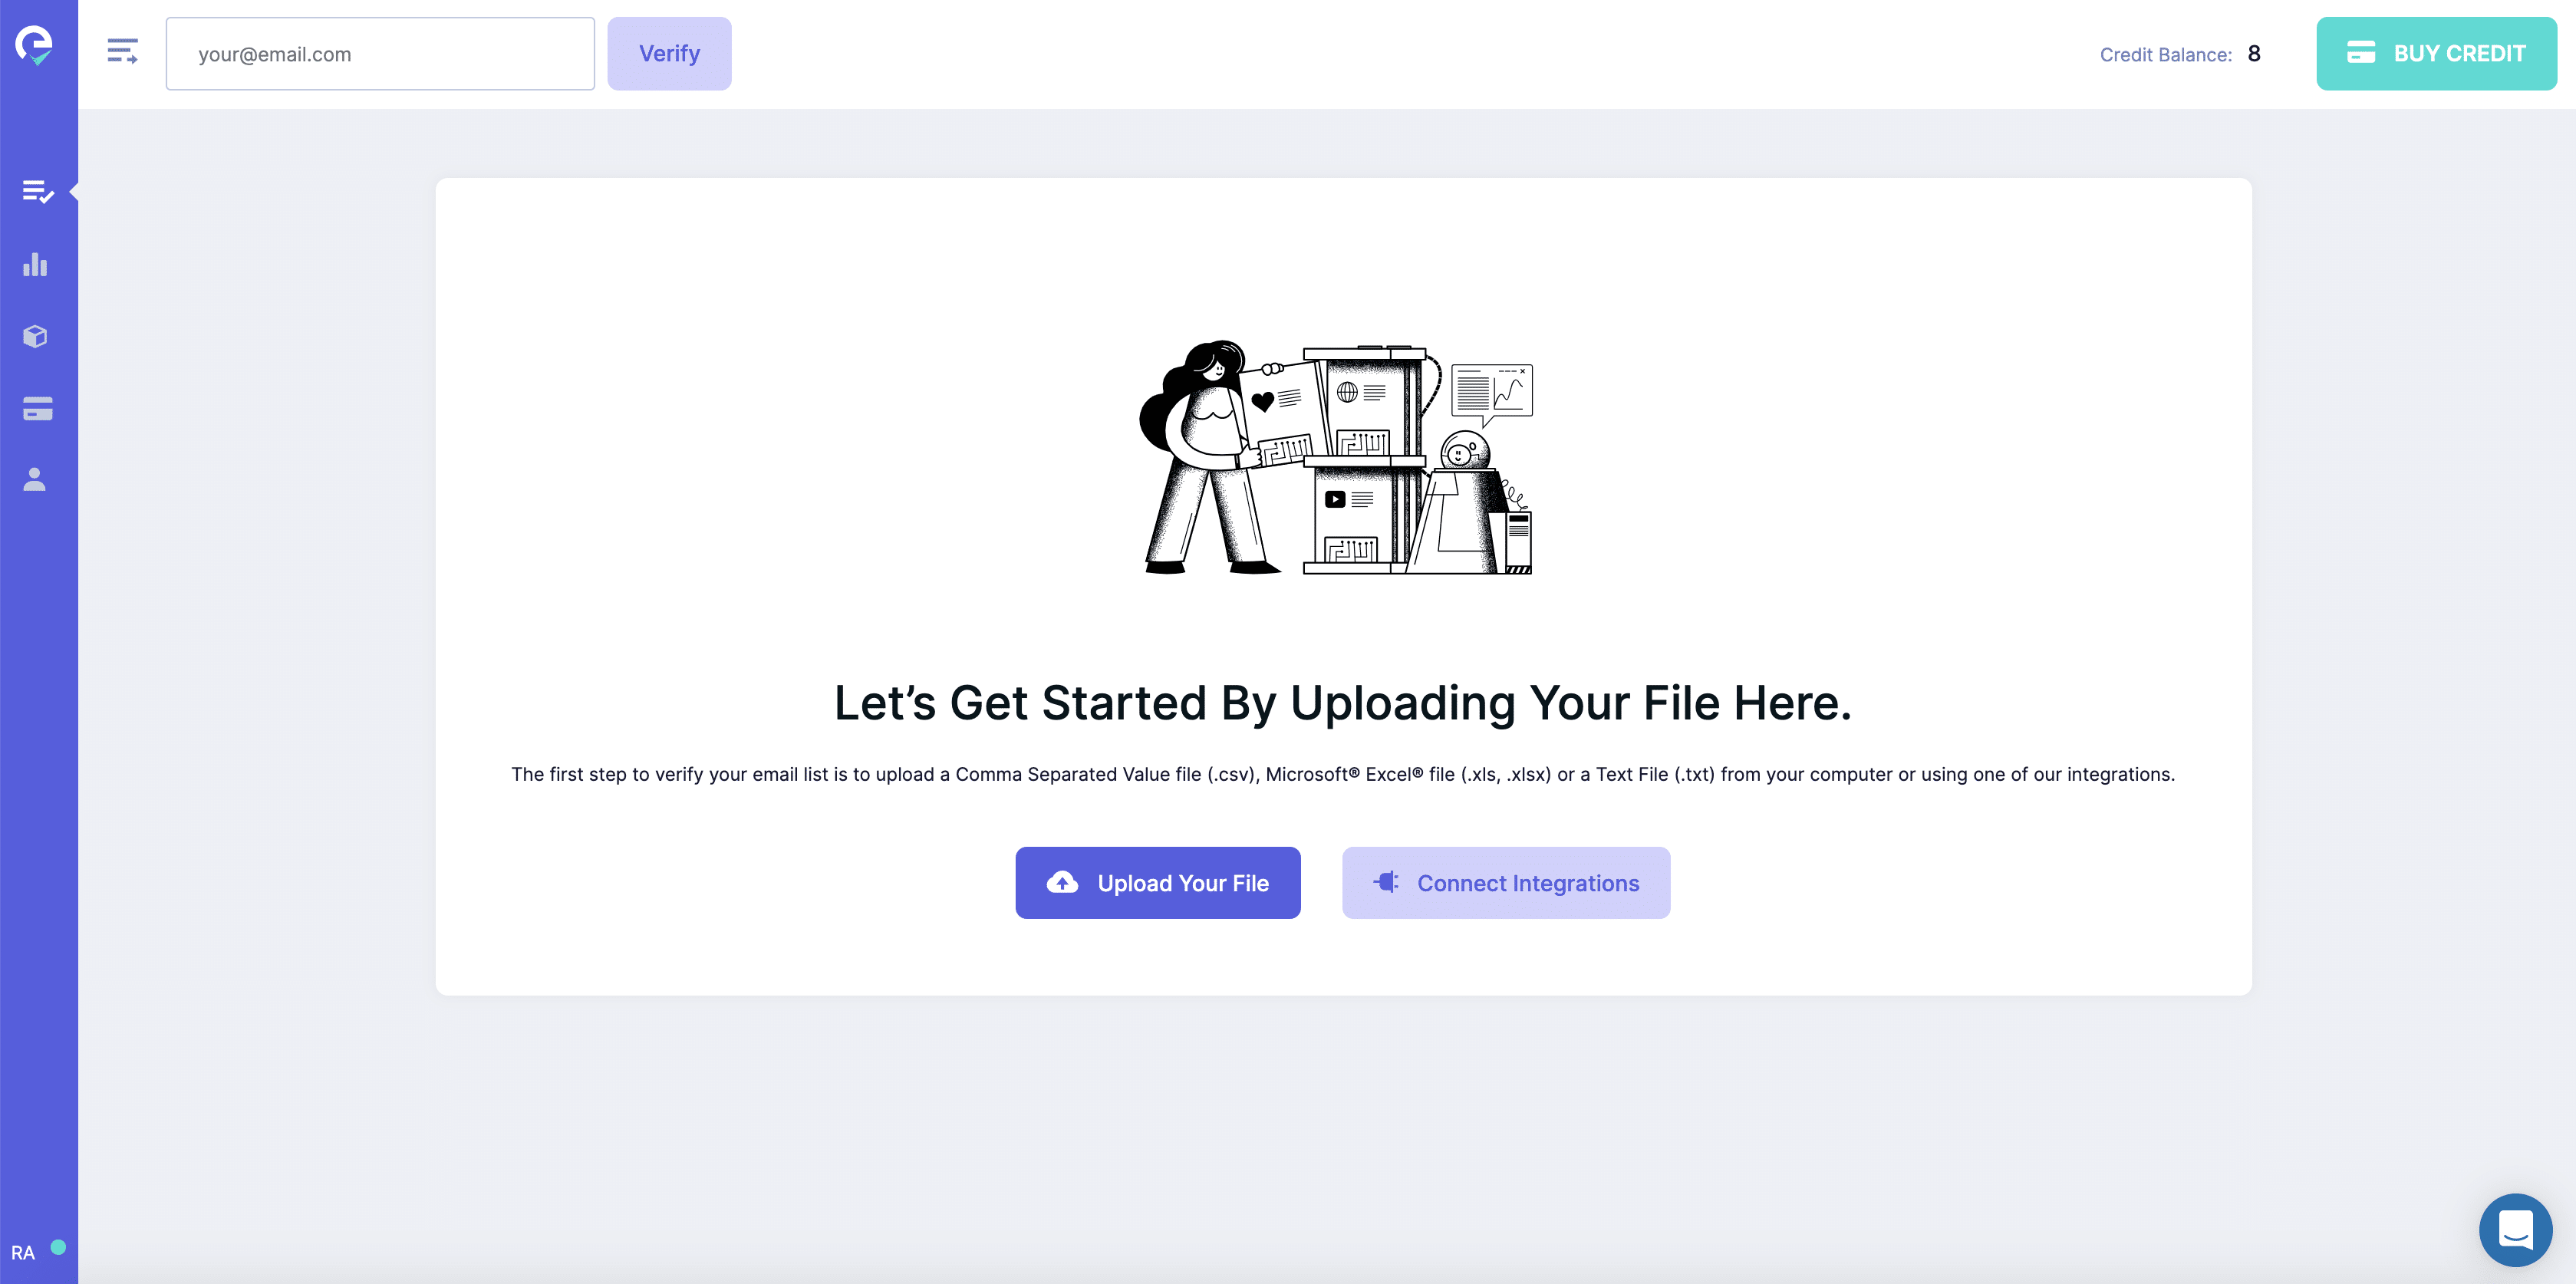
At the top right corner of the page, you’ll see your credit balance and a green “Buy Credit” button.
The credit balance indicates the number of emails you can check while the button allows you to buy more credit. We’ll talk more about that later in this review when we get to pricing information.
Beyond your credit balance, there are three (3) ways to verify email lists on this page. These are:
- Entering email addresses into the bar at the top left corner
- Uploading an email list through the “Upload Your File” button
- Connecting to your CRM or email marketing tool through the “Connect Integrations” button
To test these verification methods, I entered my email address into the bar and clicked on the “Verify” button.

Doing this brings up a popup of the analysis of this email address.

When I entered an old email address that I’ve not used for a long time, this is the analysis I got from Email List Validation:

However, if you have a big email list verify with hundreds or thousands of subscribers, going through the list one after the other will be a waste of time.
In this case, you can simply use the upload button.
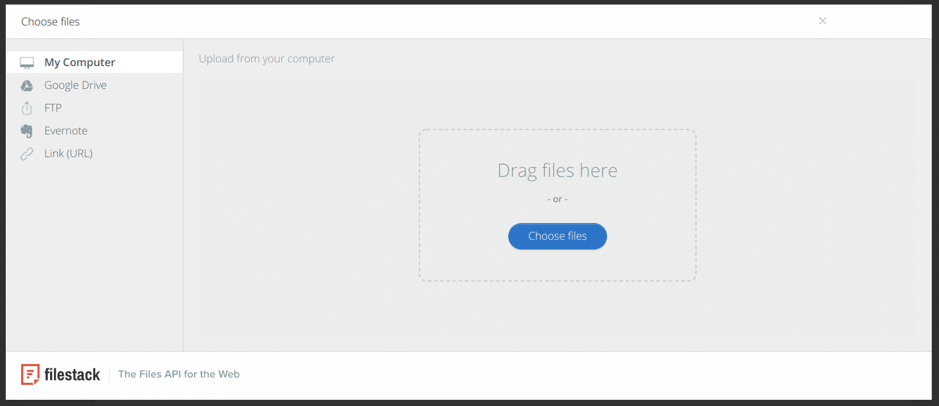
When you click on the button, Email List Validation will bring the various options you can use to upload your list. The first option is to upload it from your computer. But if you have the list on Google Drive or Evernote, you can also upload from these sources.
These options are important in a case where you have a subscribers’ list for an email campaign. You can clean up this list before you upload it into your CRM or email marketing tool.
After analyzing your email list, you can download your report as a CSV or XLSX file. This will help you track the health of your email lists over a period.
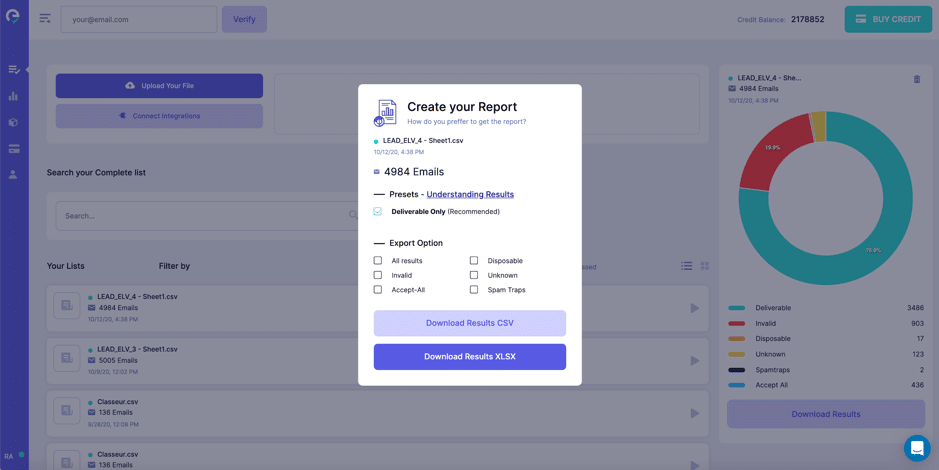
Suppose you already have your subscribers’ list in your CRM or email marketing tool, then you can integrate email list validation with your tool. All you have to do to begin is to click on “Connect Integrations.”
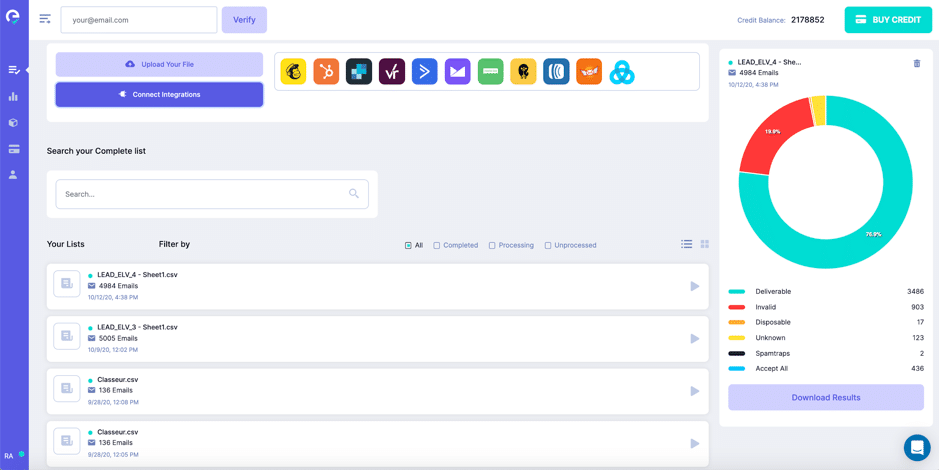
Once you do that, you can connect Email List Validation to your tool and clean up your lists. These are manual methods to validate your email lists, and we’ll get to the automatic method later in the review.
Integrations
Talking about integrations, it makes your life easier when validating your lists. If you already run email campaigns, you have a CRM system or email marketing tool to launch your campaigns.
Beyond that, you probably have more than a single email list. With automated email marketing in most tools, you can have many segmented lists based on your subscribers’ interests.
Therefore, it will be a hassle to export those lists one at a time into Email List Validation. That’s why integrating this email checker into your CRM solves that problem.
Currently, Email List Validation has 11 integrations with email marketing and CRM tools.

Suppose you use MailChimp, you can log in to your account to connect both tools.
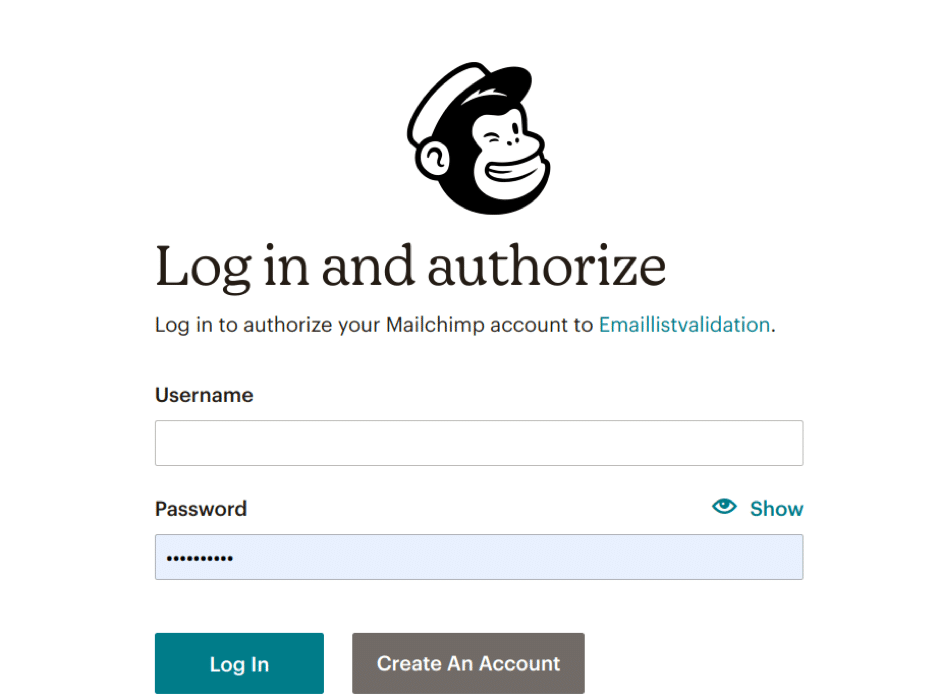
If your email marketing tool is absent from this list, you can send a message to the Email List Validation team to add your tool to the list.
API
What if you can validate emails on your website before they even get on your email list? Or, in another case, guide subscribers when they make spelling mistakes of their email addresses?
Email List Validation allows you to achieve this through its API. You can integrate Email List Validation API into your websites, applications, or marketing platforms.
This feature will ensure that any email that goes into any of those channels is a clean email address.
To install Email List Validation API, go to the left sidebar in the dashboard and click “API.”
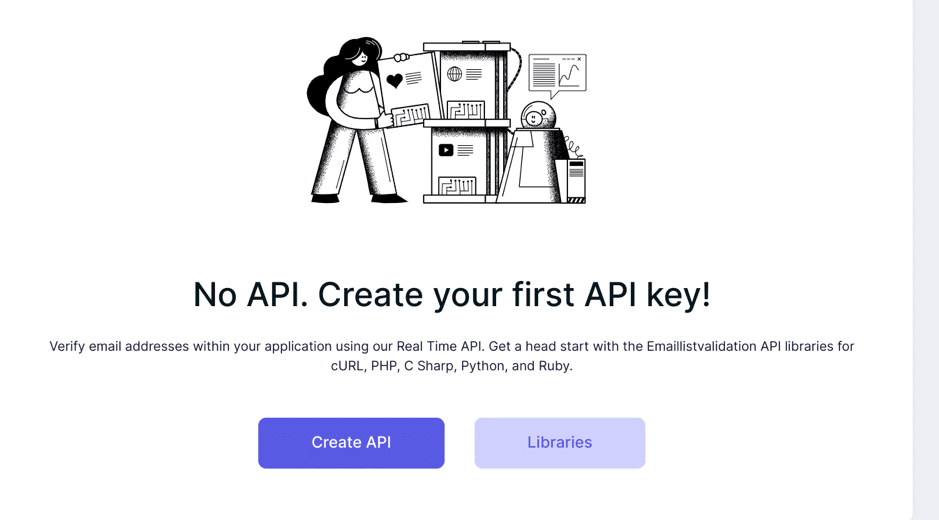
Click on the “Create API” button to create an API according to your needs. After doing that, you’ll see the details of your new API.
You have access to documentations in PHP, Ruby, Python, and C#.
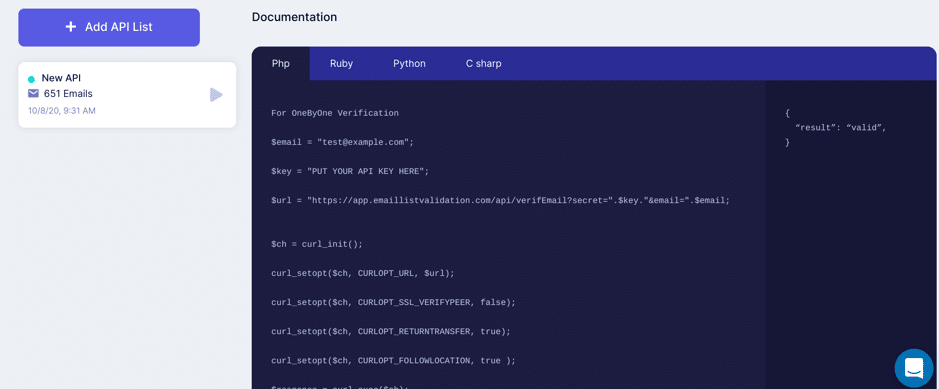
If you want to see the API code, you can click on the “Libraries” button. Doing this will take you to Email List Validation’s GitHub page.

Once you’re done installing your API into your preferred channel, email validation becomes even easier and automatic.
When you import a big email list into your app or marketing platform, Email List Validation will carry out an automatic cleaning and remove bad or duplicate emails from your lists.
Beyond that, there’s a real-time email verification for email addresses on your platforms. This means Email List Validation will regularly check your email lists and remove bad or duplicate emails without your supervision.
By installing the API on your websites or applications, you’ll never have to worry about having subscribers’ lists with bad emails.
Statistics
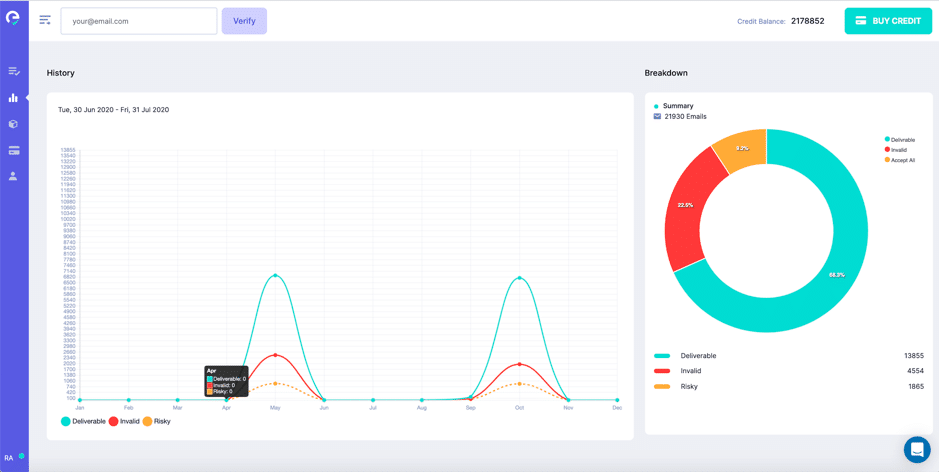
If you want to get the numbers about your subscribers’ list validation, you can do this in the statistics section. Click on the statistics icon at the left sidebar to get started.
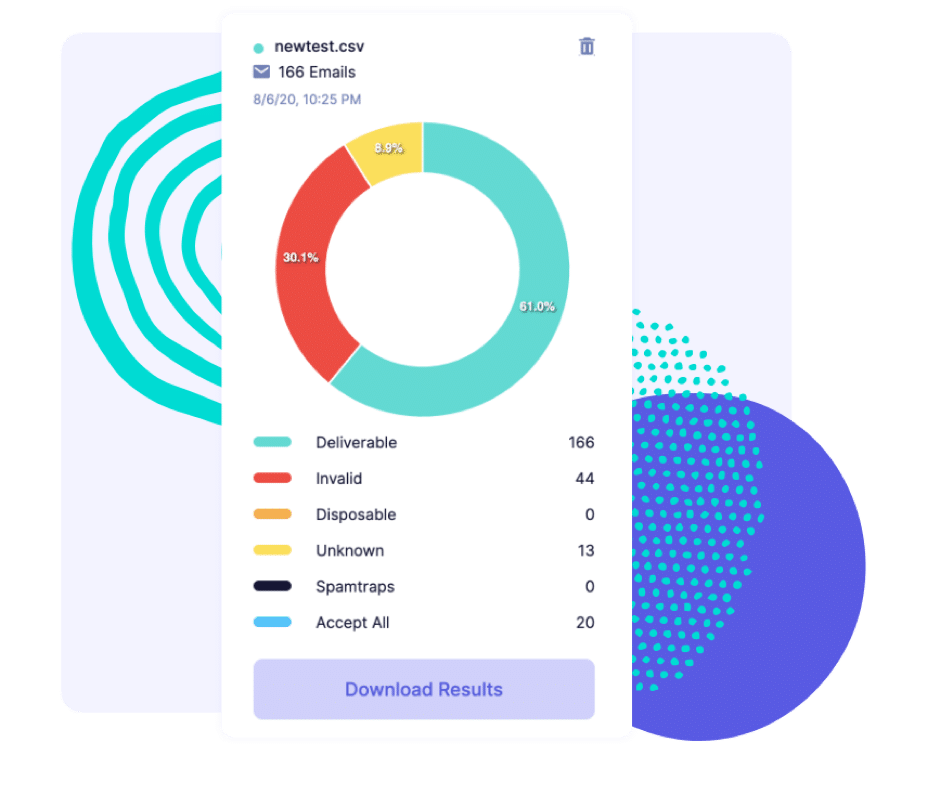
Here, you’ll find your email addresses are separated into categories such as:
- Deliverable
- Invalid
- Disposable
- Unknown
- Spamtraps
You also have an option to define the time range for your statistics. Doing this can provide insights into the time of the year or week when you acquire good/bad emails.
Settings
In this section, you can set up various aspects of your Email List Validation account. To launch the settings page, click on the settings icon at the left sidebar.
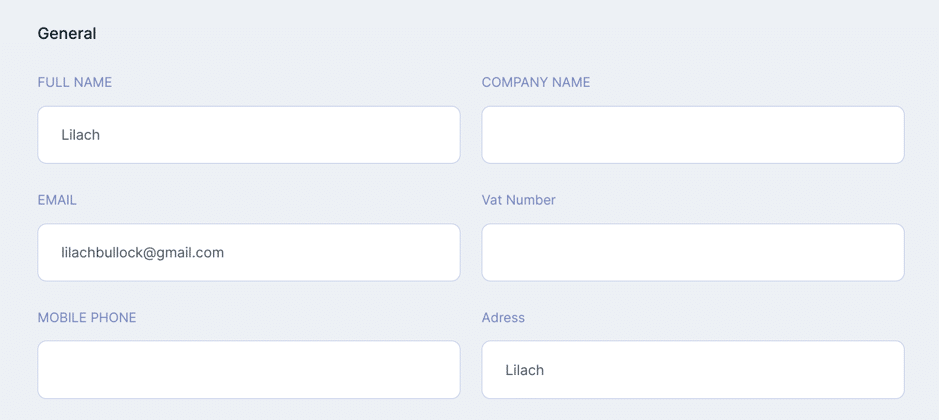
First, you have the general settings where you can enter details such as name, company name, email address, zip code, and more.
Another exciting feature of this tool is that you can add team members. For marketing agencies, there’s a chance more than a single individual will be running email marketing campaigns so this is a very handy feature.
If you have a team, you can add up to 10 of your team members. To add a team member, click on the “+ Invite a new user” button in the “Manage Users” section.
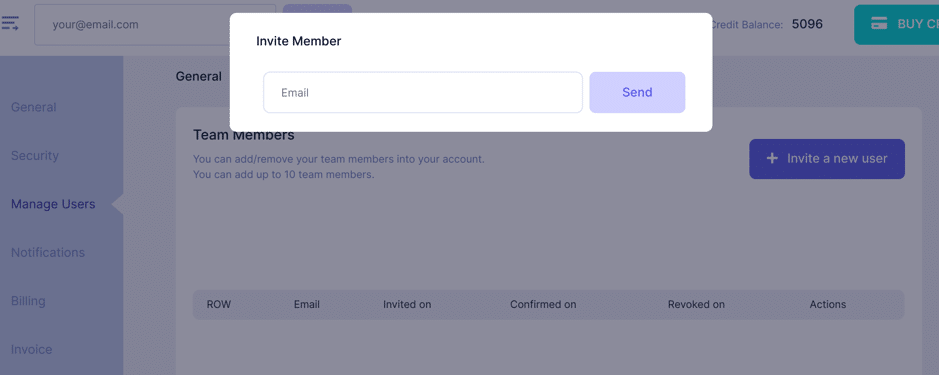
All you have to do is enter their email address and send an invite to them. Beyond these, there are other settings, including security, notification, billing, and invoice.
Support
Even for the best tools, there’s a time when users need help to solve a problem. In light of this, Email List Validation offers support through two main channels:
- Live chat
The live chat channel is available to users 24/7. The catch here is that it’s easy to access. From any page in your account, you can send messages to Email List Validation support using the live chat button at the bottom right corner of the page.
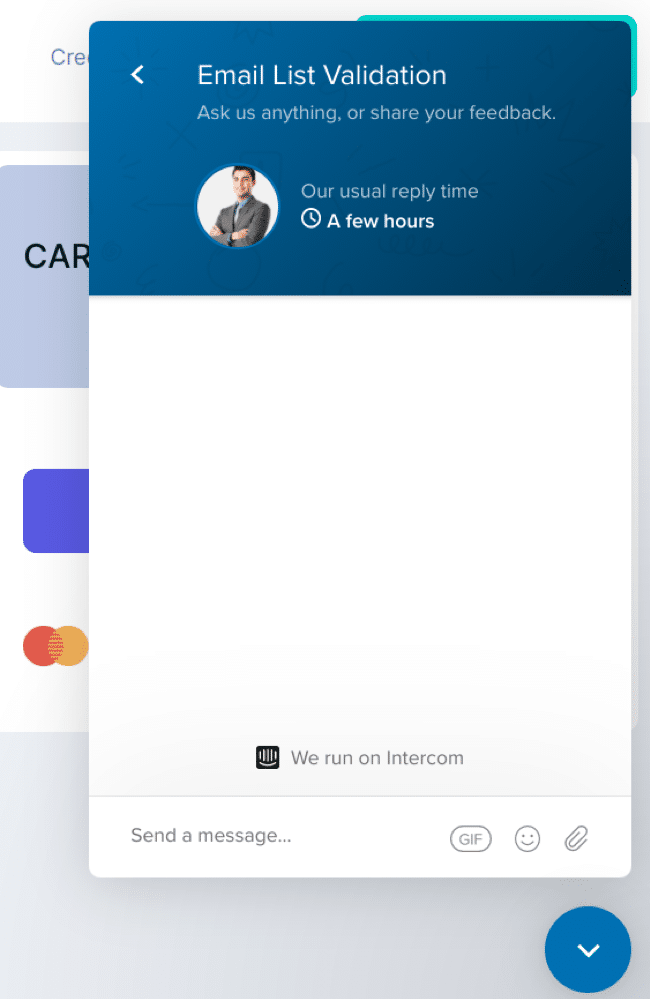
Once you click on the button, you’ll see a popup where you can enter the details of the issues you’re encountering with the tool.
Pricing
How much does Email List Validation cost? Email List Validation’s pricing plans have two structures:
- Pay as you go
- Monthly
For the pay as you go plan, you can buy credits which equates to the number of emails you can verify in this tool. You can verify 2,500 emails for $19, 10,000 emails for $59, and as many as 5,000,000 emails for $3,699.
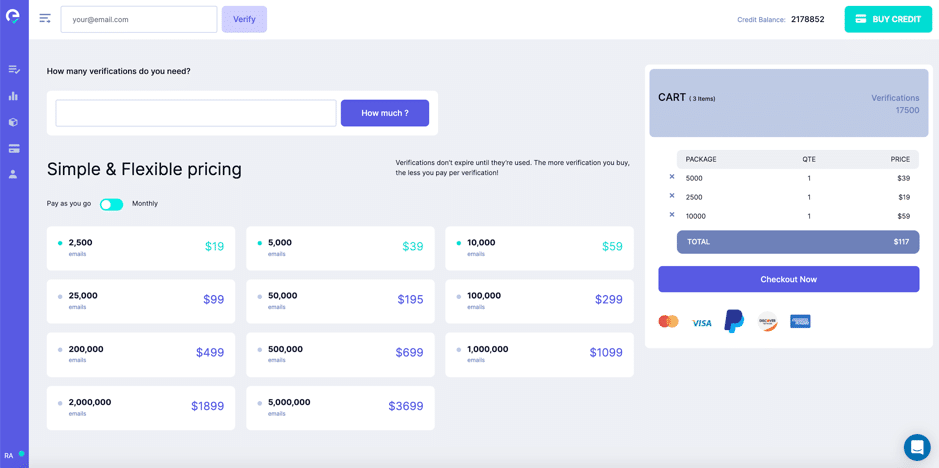
If you run a few email campaigns where you only need to verify emails once in a blue moon, this could be the plan for you. An added benefit to the plan is that your credits never expire until you use them.
However, if you run regular email campaigns or email validation services for clients as part of a digital marketing agency, your needs might exceed the pay as you go model. Running marketing campaigns for clients also means you run their websites for lead generation.
So, apart from verifying emails in your subscribers’ lists, you can automatically verify leads you capture on clients’ websites.
In this case, the monthly plan is a better option.
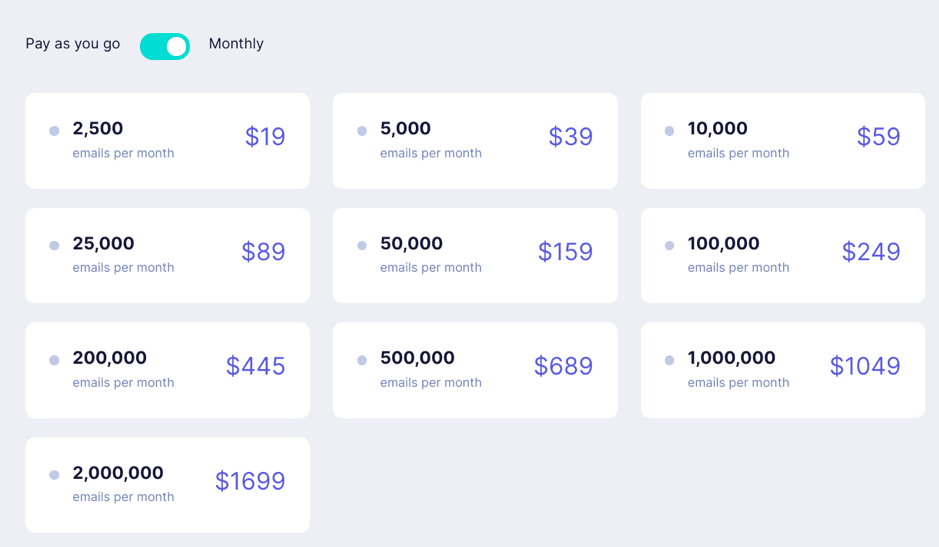
Verifying 2,500 emails per month goes for $19, 10,000 emails for $59, 1,000,000 emails for $1,049, and 2,000,000 emails for $1,699.
Conclusion
You can only derive the benefits of email marketing when you have high deliverability. With low deliverability, you’ll fail to reach your audience, or even worse, get blocked by email service providers (ESPs).
Email List Validation is a powerful and intuitive tool that provides the fastest way to clean up your current subscribers’ lists and ensure automatic email verification for your future leads.
With my experience using this tool and understanding the value of having a clean email list, I highly recommend that you check them out and start getting better results from your email marketing.

Follow Lilach


