Follow Lilach
How to schedule your social media visual content like a pro
How do you stay relevant in the social media space? The answer is simple: by consistently publishing quality content. That’s how you drive traffic to your website, blog, and landing pages, that’s how you keep followers interested, and that’s how you get people to engage with you. And in order to get the best possible results from your social media marketing, you’ll need a tool to help. In this blog post, I’ll show you how to schedule your social media visual content like a pro.
Why?
Because visual media is now dominating the social media space. Some of the most popular social networks are visual-only, and the other ones are rapidly populated by images, GIFs, memes, and videos.
It used to be that content, in general, was all the rage. Although it still is, visual content is definitely taking from the seat this year.
One of the tools that can help you with this is Viraltag – a social media scheduling tool for sharing visuals.
How to schedule your social media visual content like a pro
What is Viraltag?
The short story: a marketing tool for scheduling and sharing visuals on social media.
The long story: well…keep reading and you’ll find out all the other features and benefits for increased productivity and better results ☺
Manage and schedule posts
Obviously, the main appeal is the fact that you can use it to schedule all of your social media visuals; Viraltag supports most major social networks, such as Twitter, Facebook, Pinterest, LinkedIn, Instagram, and Tumblr.
What makes it stand out from others, however, are all the extra features for scheduling images.
For example, when you schedule a post, you can go beyond simply uploading a file from your computer:
There are multiple options, such as searching the web directly to find an image, uploading images directly from Dropbox, Google Drive (these 2 are great especially when you want to upload in bulk and save time), and Tumblr, as well as from Facebook and Instagram:
As you can see from the screenshot above, you can choose from your own pictures, from your likes, or even search for other images or use one of your friends’ (great for those of you holding any user generated content campaigns).
[clickToTweet tweet=”How to schedule your social media visual content like a pro with @viraltag #socialmedia” quote=”How to schedule your social media visual content like a pro with @viraltag #socialmedia”]
On Facebook, on the other hand, you can easily share an image from your albums, or search through the Pages you follow:
Or, of course, you can always go the usual route and upload something yourself.
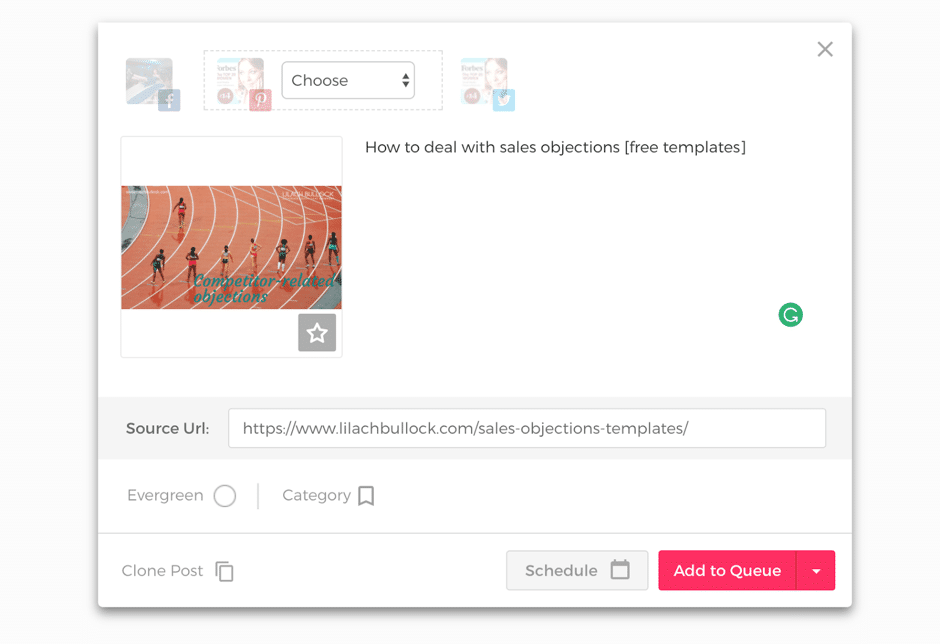
Once uploaded, select the network you want to post it on (and on Pinterest, also choose the board you want to include it in), add it to a content category (for easy management), add a source URL if you need to, and then schedule it.
In terms of scheduling, you can either select a specific time and date to share the post, post it right then, add it as a draft, or add it to a queue to be republished regularly.
Another useful feature here is that you can quickly clone your posts to edit them for different social networks:
And what’s more, you can edit the images as well by clicking on the star sign under the image:
As you can see from the screenshot above, you have plenty of useful editing/cropping features, none of which require any design experience. Use it to easily format your images for the specific social network you’re posting on so that your images have the desired effect.
Another option you have when scheduling a post is to mark it as ‘evergreen’. This means your post can be shared multiple times (usually, quality content that stays relevant, as well as promotional images with a clear deadline).
Any post marked evergreen will then appear in your evergreen tab, and will also be automatically posted on your social networks whenever there’s an empty slot in your posting schedule.
Say, for example, that you’ve got posts scheduled for 2 pm and 4 pm but your 3 pm slot is empty. Viraltag will fill up that 3 pm slot with an Evergreen post.
So basically, you can just add them as evergreen posts and let them go out automatically; all you have to do is check your evergreen posts tab regularly to make sure all the posts in your queue are still relevant.
You can also quickly set the repeat frequency of your scheduled evergreen posts:
As I mentioned earlier, you can add your posts to different categories (that you create). This makes it easier for you to schedule your whole social media and just let Viraltag do its job:
- Go to the “posting schedule” tab:
- Add any time slot you want to customize your schedule
- Add whatever category you want to any time slot:
Afterwards, you can just set and forget about them for a while (depending on how much content you have in each category scheduled).
You might’ve noticed in these last few screenshots that there’s a “get recommended times” button there.
[clickToTweet tweet=”How to schedule your social media visual content like a pro with @viraltag #socialmedia” quote=”How to schedule your social media visual content like a pro with @viraltag #socialmedia”]
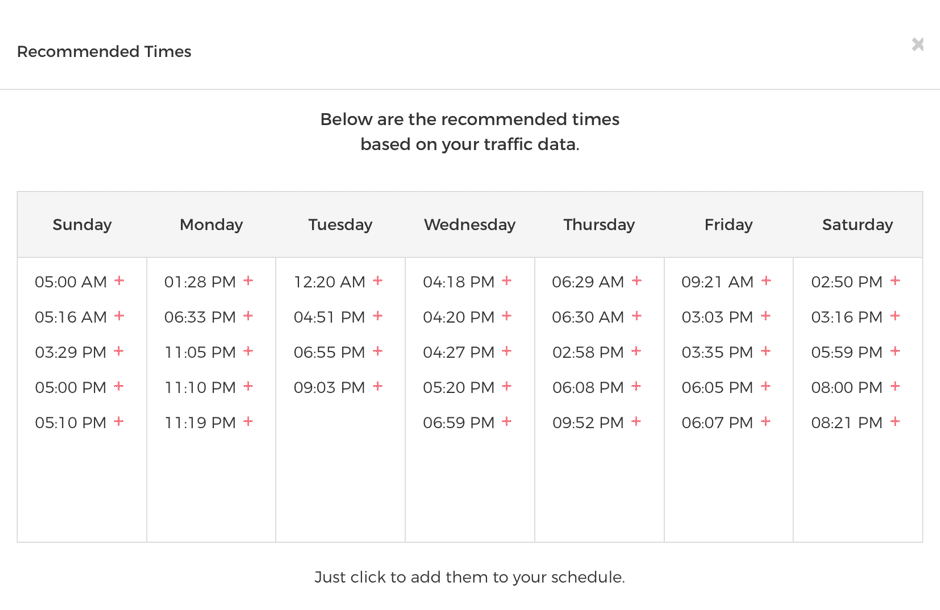
When you connect your Google Analytics account to Viraltag, the tool will automatically pull up your social media traffic data so that you can find out when the best times to post are:
I get most of my traffic on afternoons, especially Wednesday afternoons, so it makes sense to use those times for my most important social media posts.
And what’s even cooler, I can click on the + sign next to each suggested time slot to automatically add it to my posting schedule.
Once you’ve created and added content, you can use the dashboard to check:
- Your scheduled posts
- Any drafts
- Recently published posts
- your evergreen posts
- Any failed posts (along with the reason why they weren’t published)
Collaborate with your team
Another useful feature – and one that’s particularly when creating visual content – is that you can collaborate with your team members.
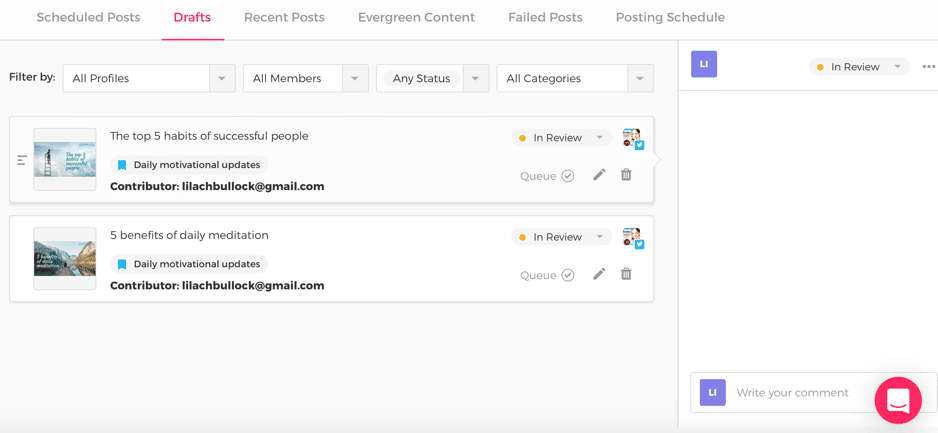
Others can save drafts, edit them, and the editor can approve and schedule them.
In the drafts section, click on a draft:
Here, you can leave comments for the other members of your team, review posts, and approve them to be published.
If you have very many drafts, don’t worry – you can easily filter them by social profile, by different members, by the posts’ status, and by the posts’ category.
This way, there’s no confusion over who does what, when, and how.
Viraltag Google Chrome extension
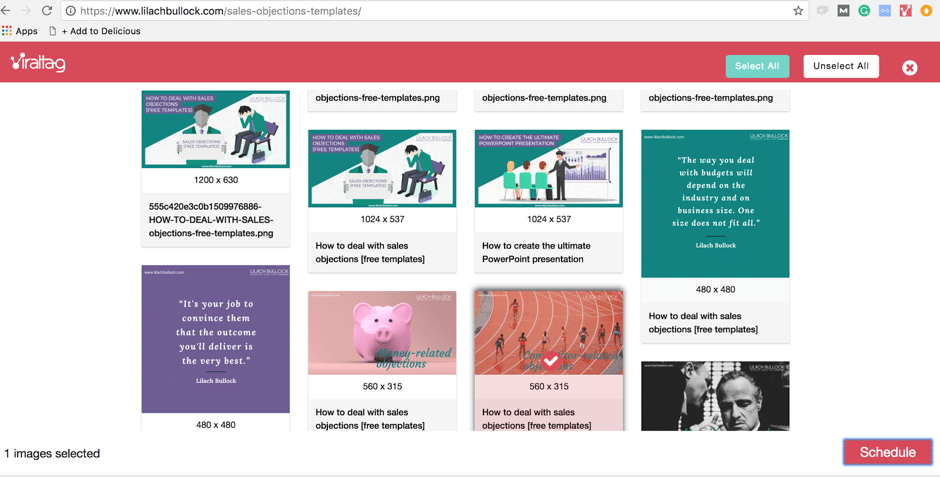
To make things even easier, you can also use their Google Chrome extension to quickly publish and schedule any media you discover online. Just click on the button, and the tool will pull up every image from that website so that you can publish or schedule it quickly:
Find and design images
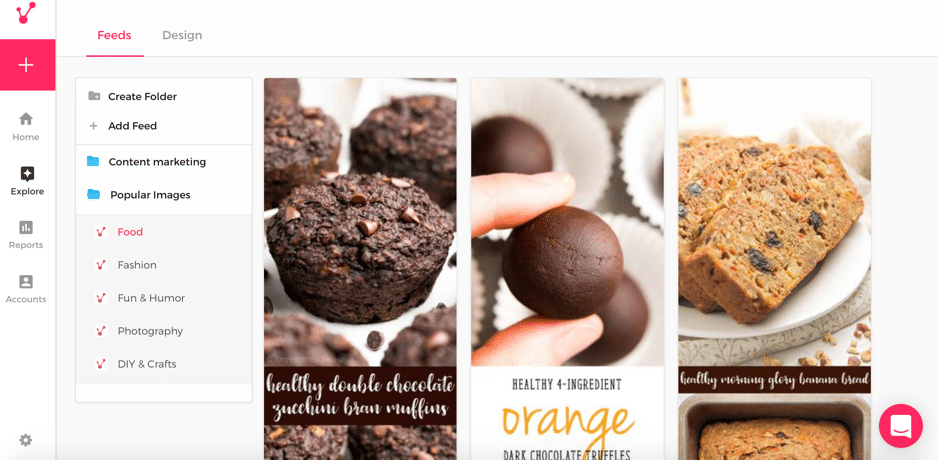
As you’ve seen earlier, you can look for pictures directly within the post scheduler. However, there is another option as well. In the “explore” section, you can find quality images and design your own, through their Canva integration.
You can search for images in all kinds of popular categories:
As well as set up your own custom image feeds from various sources:
Search for publications, topics, add your own sources, and check out different users from Pinterest, Instagram, Facebook, and Twitter. Basically, any image source you might want.
[clickToTweet tweet=”How to schedule your social media visual content like a pro with @viraltag #socialmedia” quote=”How to schedule your social media visual content like a pro with @viraltag #socialmedia”]
And if you can’t find what you need or want, you can always use Canva to quickly design your own. Just go to “design” and you’ll notice you have a few different options for creating optimised content for Pinterest, Facebook, Twitter, and Instagram:
Click on the one you want to create and a Canva pop up will appear with the pre-set dimensions and templates for the specific social network:
Which I love because it means I don’t have to open another tab in my browser – I already have way too many open and I’m sure many of you can understand the constant struggle of keeping your tab numbers under control ☺
Reporting and analytics
As you may remember, Viraltag can be connected to your Google Analytics account. This way, you can see exactly how much traffic you’re getting from each social network:
As well as the best times to post:
The redder a slot is, the more visitors you get during those times.
Additionally, you can also check your Instagram and Pinterest analytics:
- See what your engagement is like
- Check your follower growth over time
- Find out what your most engaging pins, boards, and posts are
In the analytics section, you can check your analytics for each social network (Facebook, Twitter, etc.):
- An overview of your account (total followers, numbers of shares/retweets, and so on)
- Engagement stats
- Follower growth
- Best times to post on each social network
And if you want, you can also export your reports as .csv files.
[clickToTweet tweet=”How to schedule your social media visual content like a pro with @viraltag #socialmedia” quote=”How to schedule your social media visual content like a pro with @viraltag #socialmedia”]
Conclusion
If you work with a lot of visual content (and you definitely should!), Viraltag is a great option. Not only does it help you save time and be more productive, but it also helps you create better content.
I particularly love the fact that you can easily find images from all over the web from within the app, and the integration with Canva, which makes creating visuals as easy as it can possibly be.
Plus, the ‘set and forget’ features are a must for me when it comes to social media scheduling tools. Especially because I use Twitter so much and that requires a lot of content every day.
What do you think, have you tried Viraltag yet?

Follow Lilach


